
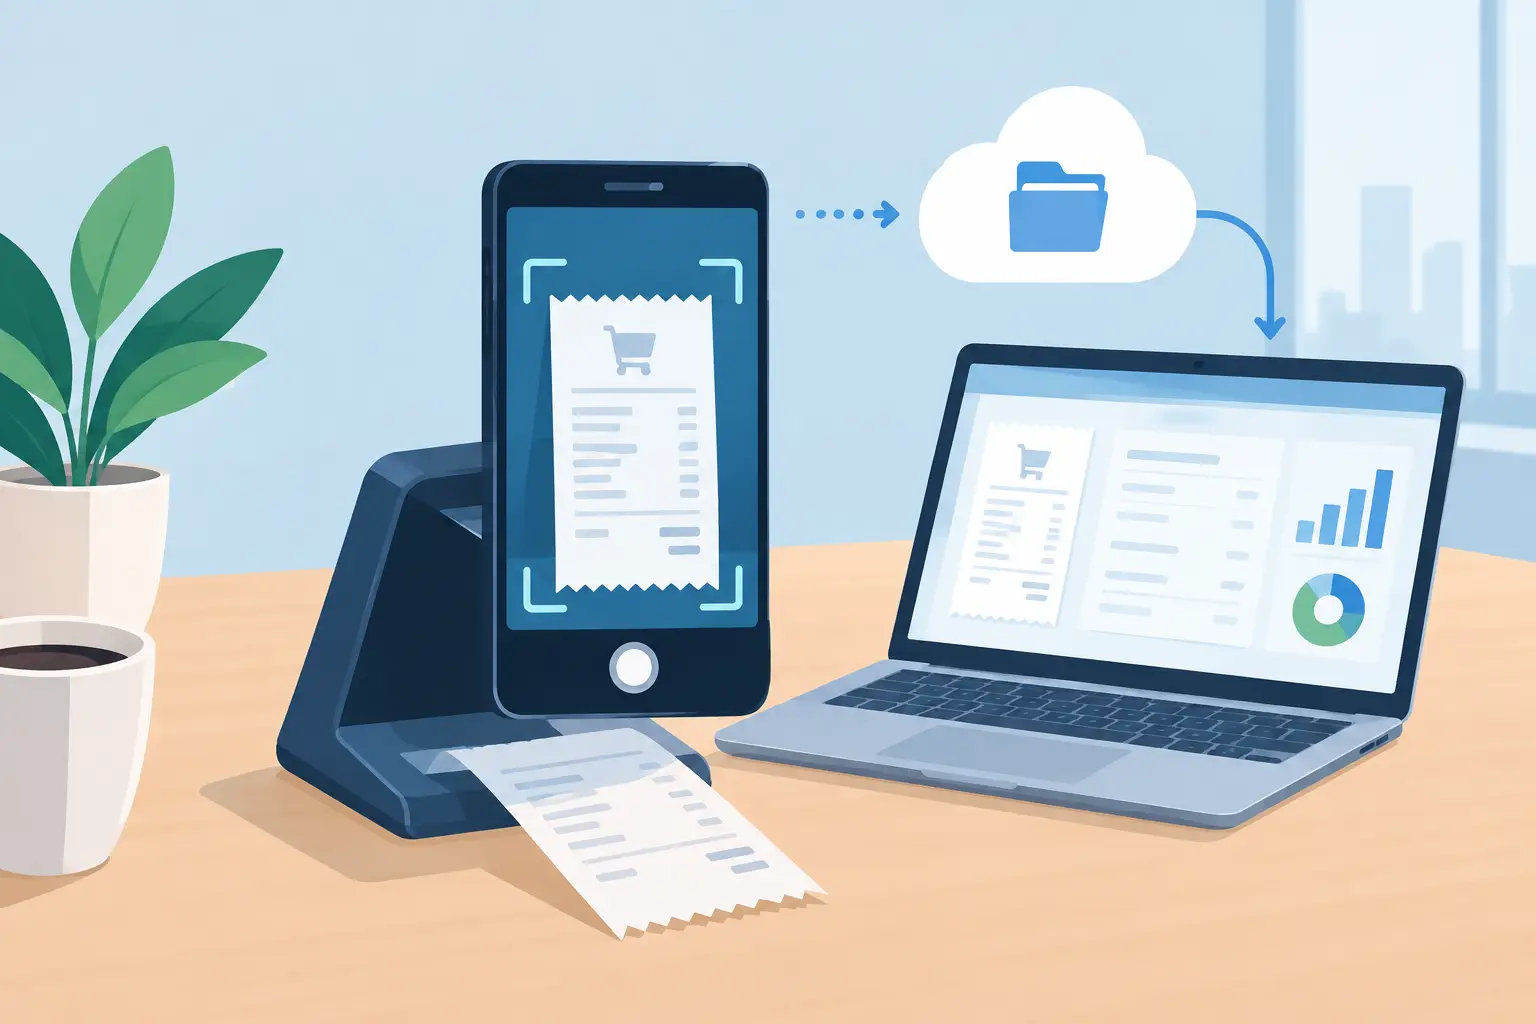
A $42 fuel receipt, a supplier lunch, and a stack of hardware-store slips can all affect your cash flow and tax records. The problem is not usually making the purchase. It is getting the details into your books before the paper fades, gets misplaced, or becomes another end-of-month task. So, how does receipt scanning work? It turns a receipt image into usable expense information that your team can review, categorize, and store with the original document.
For small and medium-sized businesses, receipt scanning is less about replacing paper for its own sake. It is about knowing where money went, keeping backup documents attached to transactions, and reducing manual data entry.
How Does Receipt Scanning Work?
Receipt scanning starts when someone captures an image of a receipt using a phone camera, scanner, or uploaded file. The software improves the image where possible, reads the printed text, and identifies common fields such as the merchant name, purchase date, total amount, sales tax, and currency.
The technology behind this process is usually optical character recognition, often called OCR. OCR converts visible letters and numbers in an image into machine-readable text. More advanced systems add AI-assisted recognition to determine which number is the total, distinguish a purchase date from a receipt number, and suggest an expense category.
The result is not meant to be accepted blindly. Good receipt scanning creates a draft expense record. A user reviews the extracted details, corrects anything that is wrong, selects the right account or category, and saves the receipt with the transaction. That review step keeps the workflow practical and gives the business control over its financial records.
From Receipt Image to Expense Record
A receipt goes through several steps before it becomes a reliable part of your accounting records.
1. Capture or upload the receipt
An employee can take a photo immediately after a purchase, or an office team can upload a PDF, image file, or scanned page later. Clear images produce better results. The full receipt should be visible, placed on a flat surface, and photographed with enough light to avoid glare and shadows.
For recurring vendor documents, digital copies are often easier to process than paper. A PDF receipt from an online purchase may already have sharp text, while a crumpled thermal-paper receipt may require a closer review.
2. Read the text with OCR
OCR detects text patterns in the image and converts them into data. It may recognize a vendor such as a gas station or office supply store, then locate amounts marked as subtotal, tax, tip, or total.
This is where receipt layouts can create challenges. Vendors do not use one standard format. Some show the total at the bottom in large print; others place it in a narrow column. A receipt can also contain discounts, returns, multiple tax lines, or handwritten notes. The software makes its best interpretation, but it cannot know your business purpose for every purchase without user input.
3. Extract the fields that matter
The system maps recognized text to useful fields in an expense record. Depending on the receipt and software, that may include the vendor, date, total, tax amount, payment method, currency, and individual line items.
Not every business needs the same level of detail. A consulting firm may only need the total, vendor, date, client project, and expense category. An inventory-based business may want individual items and quantities reviewed more closely, especially when a purchase affects stock costs or inventory adjustments.
4. Match, categorize, and approve
After data extraction, the receipt can be matched to an existing bank or card transaction. When the vendor, date, and amount align, matching helps prevent duplicate entry and confirms that the charge reached the correct account.
Then someone assigns the expense to the right category, such as office supplies, travel, vehicle expense, subcontractors, or cost of goods sold. They may also assign a customer, project, location, department, or custom field. This is the part that turns a scanned image into useful reporting data.
Finally, the reviewed receipt is stored with the expense record. Later, a bookkeeper, manager, or tax professional can open the transaction and see the supporting document instead of searching through a drawer or shared email inbox.
What AI Can Do and What It Cannot Do
AI-assisted receipt capture can save time by recognizing common vendors, reading totals, and suggesting categories based on previous entries. If your team frequently buys shipping supplies from the same vendor, the system may consistently propose the same expense account. That reduces repetitive work and creates a more consistent process.
Still, automation has limits. A receipt may be blurry, folded, incomplete, handwritten, or printed with faded ink. The total may be difficult to identify when a transaction includes a tip, a return, store credit, or a split payment. Foreign currency receipts can also require extra attention because the receipt amount and the amount charged to a US card may differ.
Most importantly, software cannot always determine business intent. A restaurant receipt could be a client meeting, employee travel, a team meal, or a non-business personal expense. Your team must apply the correct category, tax treatment, project assignment, and approval policy.
The best approach is automation with review, not automation without accountability.
Why Receipt Scanning Matters for Daily Operations
A scanned receipt does more than create a cleaner file cabinet. It helps businesses record expenses while the details are still fresh. Employees can add a note about the purpose of a purchase, managers can approve spending sooner, and bookkeepers can reconcile transactions with less follow-up.
It also improves visibility. When expenses are categorized consistently, you can see how much a project is costing, whether travel spending is rising, or which vendors are affecting your margins. For businesses that bill customers for reimbursable expenses, attaching the receipt directly to the expense record makes it easier to recover eligible costs.
Document storage matters when questions arise later. A vendor dispute, a customer chargeback, a tax review, or a project profitability check is easier to handle when the original receipt is attached to the transaction. Cloud-based records also give authorized team members access without passing paper between locations.
A Practical Receipt Scanning Workflow
The most effective process is simple enough that employees will actually follow it. Set a clear rule that receipts should be captured on the day of purchase, especially for cash purchases, travel expenses, and job-related materials. Waiting until the end of the week increases the chance that a receipt is lost or its business purpose is forgotten.
Use consistent categories and require a short note when the reason for the expense is not obvious from the vendor name. For example, “materials for Oak Street renovation” is more useful than “job supplies.” If your business tracks projects, require users to select the related project before submitting the expense.
Assign review responsibility based on your team structure. A business owner may approve employee card expenses, while a project manager reviews job costs and a bookkeeper handles account categories and bank matching. Small teams do not need a complicated approval chain, but they do need a defined person who checks exceptions.
MyCloudBook supports AI-powered receipt-to-expense capture so businesses can bring receipt details into their expense workflow, attach supporting documents, and keep records available alongside the rest of their financial activity.
Common Receipt Scanning Mistakes
The biggest mistake is assuming a scanned receipt is automatically accurate. OCR can confuse a subtotal with a total, misread a date, or fail to capture a discount. Review the amount and vendor name before saving, especially for high-value purchases.
Another common issue is duplicate expenses. This can happen when a receipt is entered manually and later matched to a bank transaction as though it were a new expense. Your process should make clear whether the receipt creates the transaction, supports an existing card transaction, or waits to be matched during reconciliation.
Finally, do not treat every receipt as an expense without context. Owner purchases, reimbursable employee costs, inventory purchases, fixed assets, and customer-billable costs may need different treatment. The receipt is evidence of the purchase, but the accounting entry should reflect what the purchase means for your business.
Keep the Review Step Simple
Receipt scanning works best when it removes data entry without removing judgment. Capture receipts promptly, let OCR handle the repetitive details, and review the information that affects your books, taxes, inventory, and project costs. A few seconds of verification at the time of purchase can save hours of cleanup when you are trying to close the month.